QmailtoasterMain Page | About | Help | FAQ | Special pages | Log in

Printable version | Disclaimers | Privacy policy

QMT-ISO Install Screenshots

From Qmailtoaster

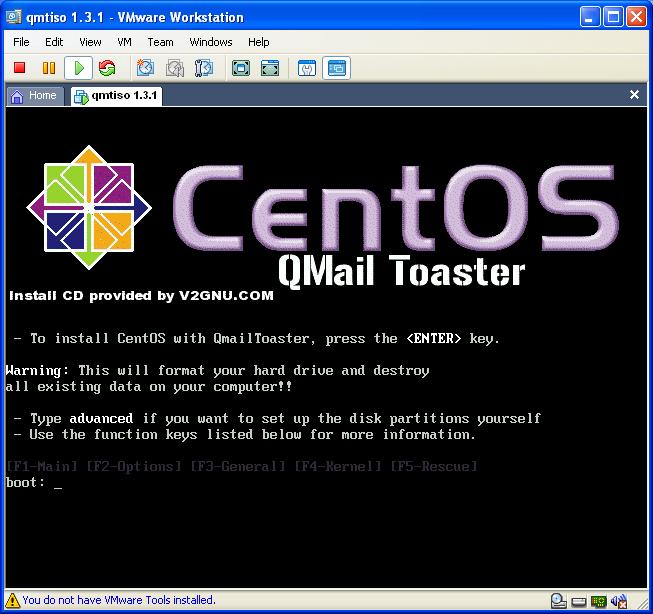
01. boot.jpg

1. boot screen, just type enter for normal installation

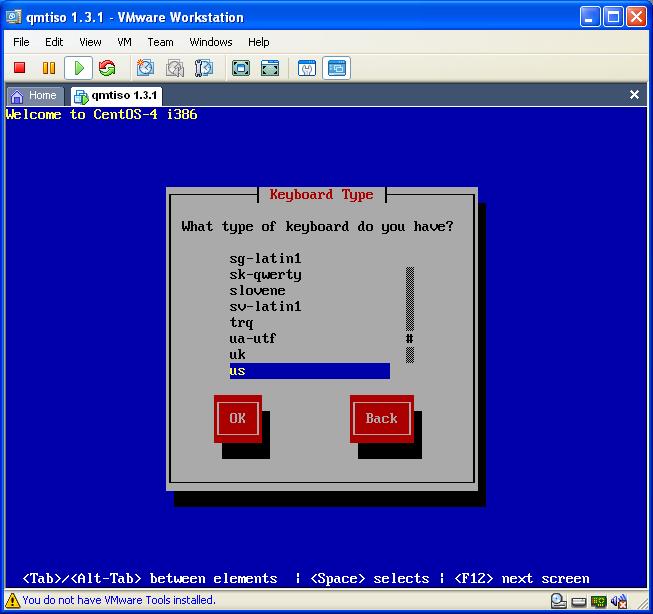
02. keyboard.jpg

2. select your keyboard type

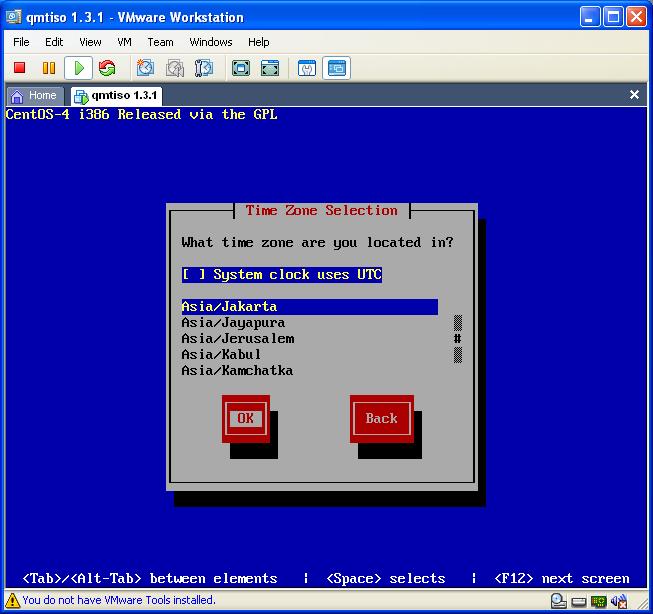
03. timezone.jpg

3. select your timezone

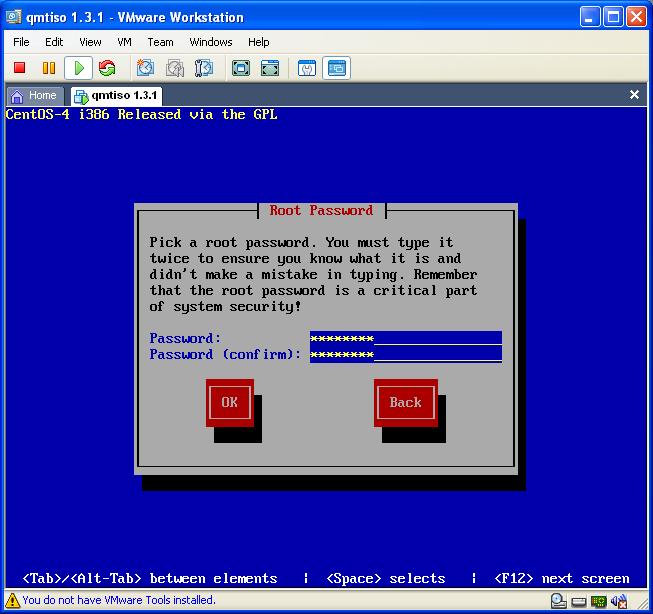
04. password.jpg

4. enter root password

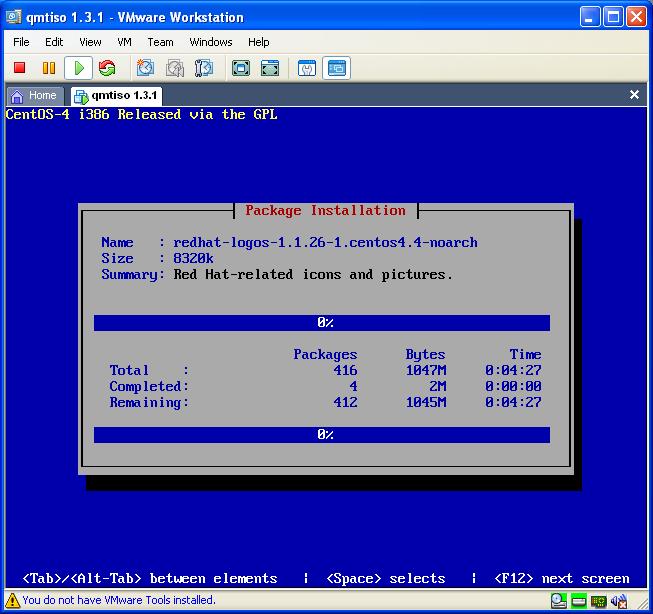
05. software install.jpg

5. CentOS software installataion, please wait a while

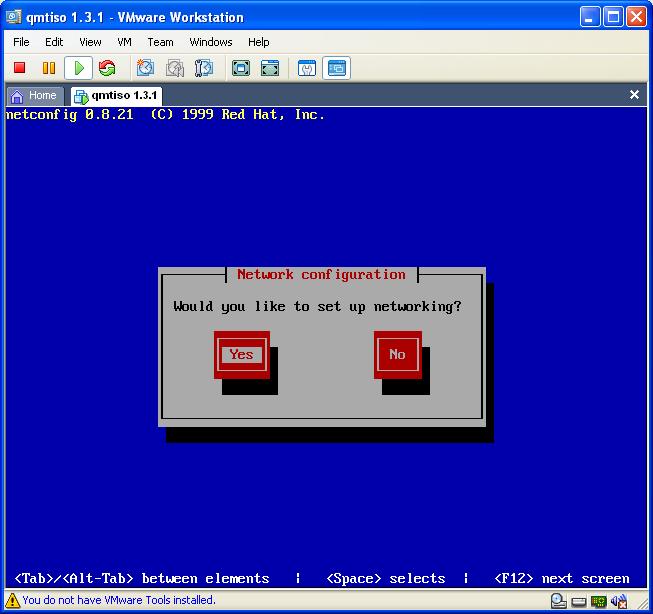
06. network setup.jpg

6. network setup

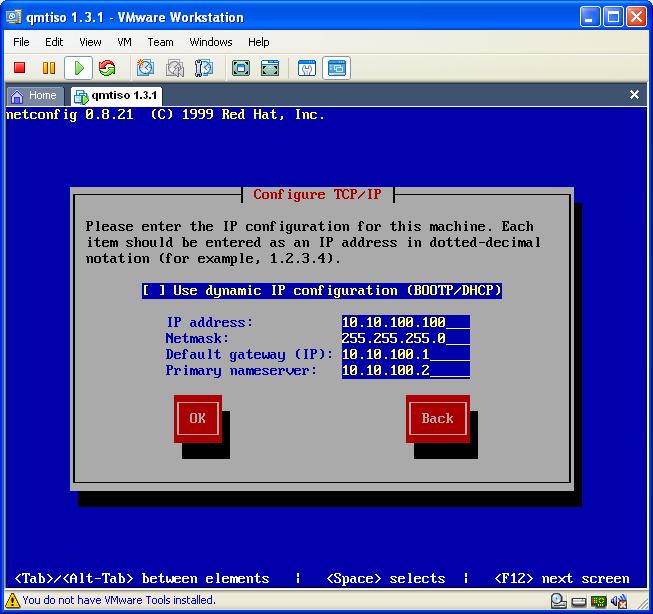
07. network set IP address.jpg

7. configure your IP Address

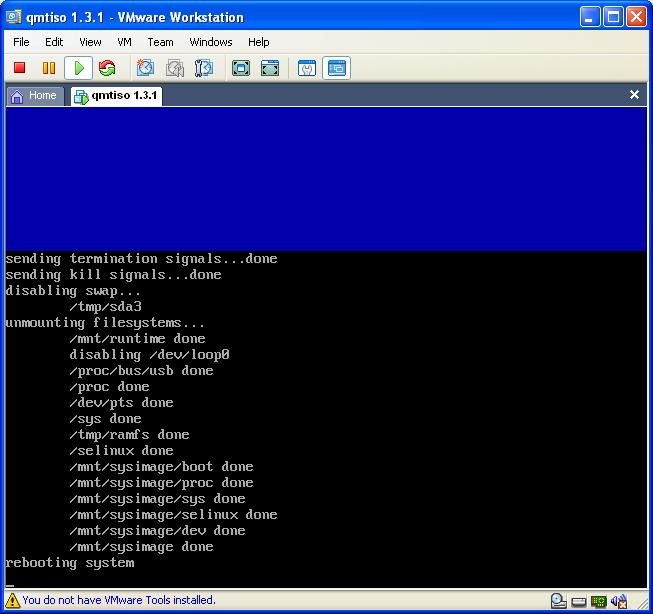
08. first reboot.jpg

8. first reboot, just wait

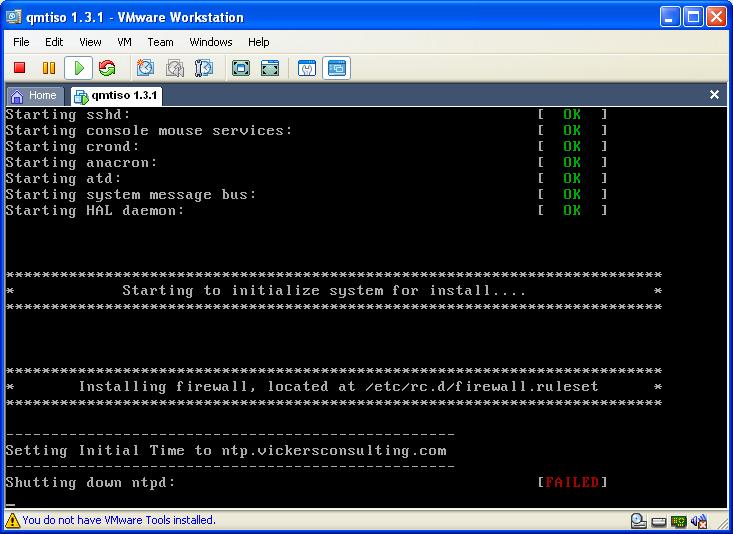
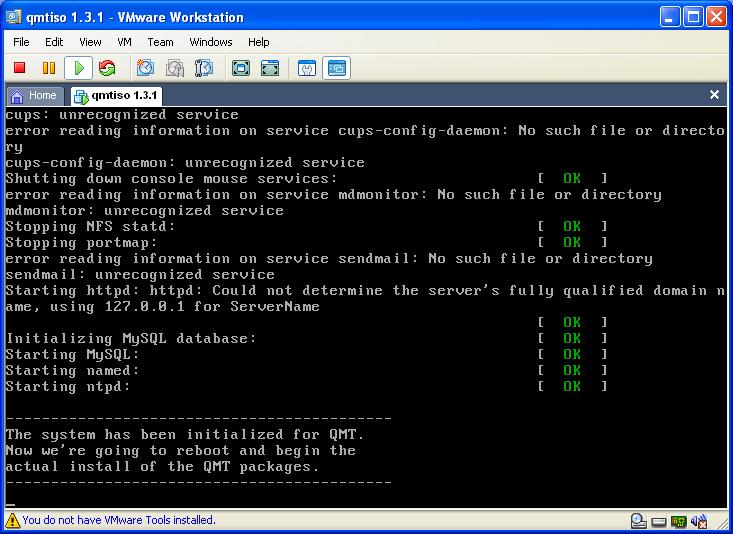
09. initialized qmtiso.jpg

9. initialize qmtiso installation

- setup ntpd
- get centos latest update
- install perl and perl module

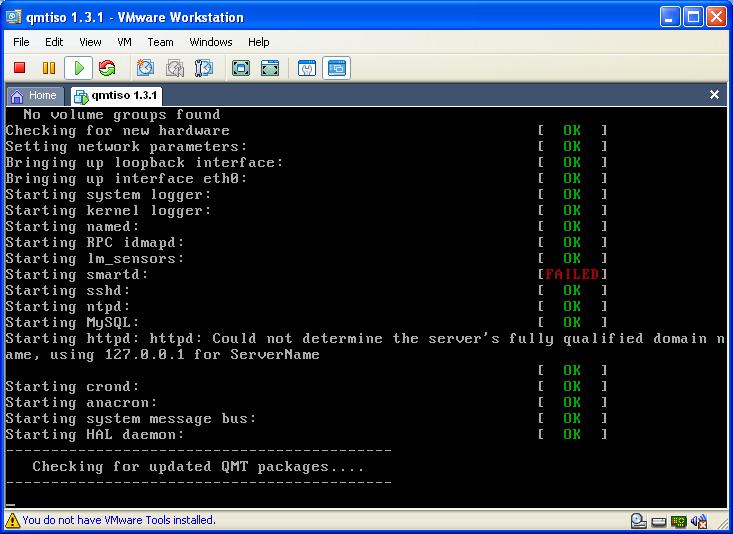
10. finish initialization.jpg

10. initialization finished, second reboot

11. install qmailtoaster.jpg

11. install qmailtoaster

- get qmailtoaster latest update
- install all qmailtoaster packages, it take about 1 hour it my vmware, it could take longer if you use older server, get a snack or watch the screen maybe you find something interests :)

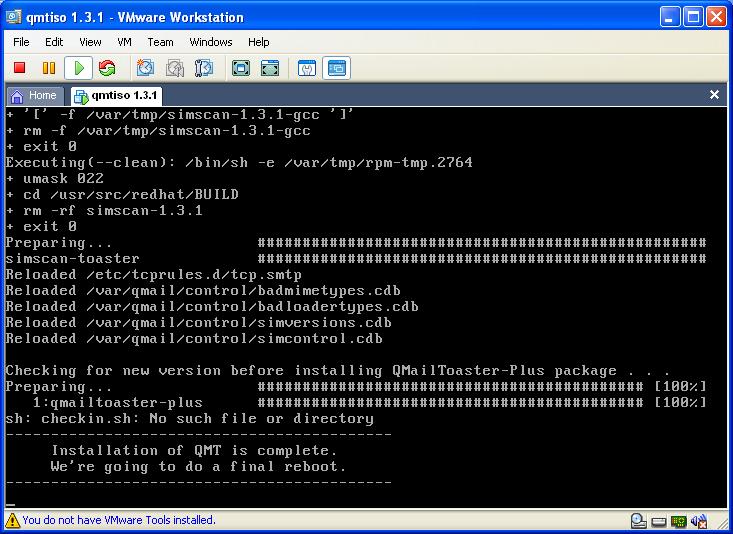
12. finish install qmailtoaster.jpg

12. finish install qmailtoaster + qmailtoaster-plus, now final reboot

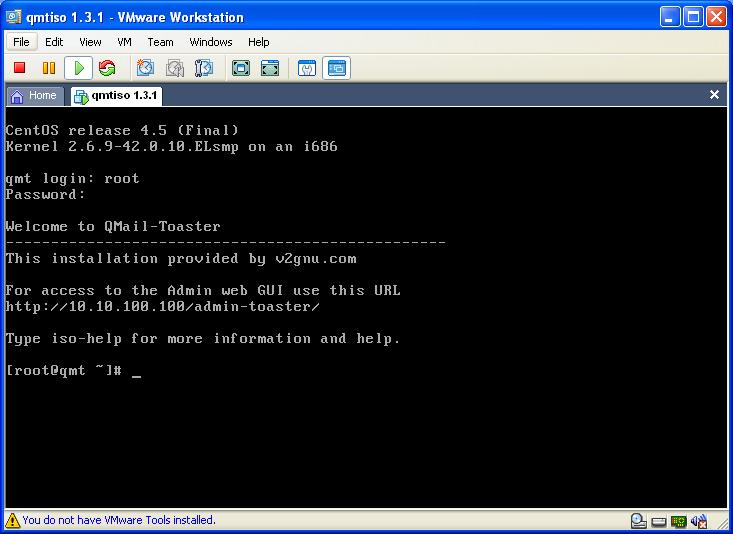
13. first time login.jpg

13. first time login


QMT-ISO Install Screenshots Mirror


Back to QMT-ISO Manual Guide
Retrieved from "http://wiki.qmailtoaster.com/index.php/QMT-ISO_Install_Screenshots"

This page has been accessed 6,712 times. This page was last modified on 13 November 2007, at 15:21. Content is available under GNU Free Documentation License 1.2.


Find

Browse
Main page
Community portal
Current events
Recent changes
Random page
Help
Edit
View source
Editing help
This page
Discuss this page
New section
Printable version
Context
Page history
What links here
Related changes
My pages
Log in / create account
Special pages
New pages
File list
Statistics
More...